# Development Process
# Project Structure:
All code & data for this project will be housed in our github team repo. There are 4 repositories:
# data
This is where we will store all the datasets that we will use for this project.
# code
This is where we will store all python code needed to generate visualizations, models, and filter data. This will contain a few different kinds of files:
data_retreiver.py: This is a file that will be for downloading / transforming data from the data repository into any scripts / notebooks.- Common / Utility
.pyfiles. We are going to need some scripts for tranforming data, creating models, that kind of thing. - Jupyter Notebooks for creating visualizations These are the notebooks that will actually create the visualizations we showcase. Try to keep these reletively clean. If you have to write a ton of transformational code to help generate a visualization, consider putting that in a common
.pyfile. - 1 Scratch Jupyter Notebook for each teammate Of course, sometimes you've just gotta try stuff out and be messy, so everyone has one jupyter notebook to playaround in.
# showcase-code
This is all the markdown for the website you are on right now. To chage the website:
- Clone the repo, and make the nessessary changes. Refer to the existing code on how to make changes.
- Once satisfied, make a commit, and push the code.
- Run
sh deploy.shto push the changes to the live site.
# madison-housing-cs638.github.io
This is the generated html for this website. Do not directly change this.
# Getting Started.
WINDOWS 10 STEPS
# Install The Windows Subsystem for Linux
To ensure consistency, we should all be developing from a shared environment, using similar tools. One of which is The Windows Subsystem for Linux, or WSL (Were going to use WSL2). It is essentialy a high-performance linux emulator that runs on windows. To set this up:
Make sure your computer is up to date
Install WSL1, by following along with this tutorial, through Enabling ‘Virtual Machine Platform’
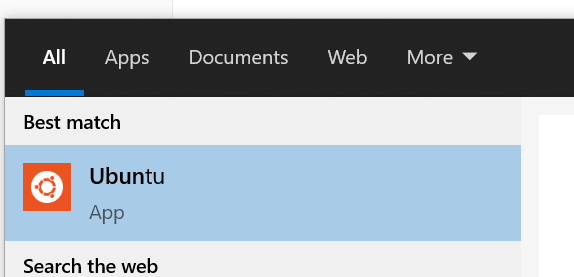
Install Ubuntu
Download it through the Microsoft store here
Run Ubuntu, and set yourself up with a username and password.
Finish Installing WSL 2 and upgrading ubuntu to use WSL 2 be following the rest of this tutorial, starting with Enabling Windows Subsystem for Linux 2
# Install and Configure Windows Terminal
Download Windows Terminal from the Microsoft store here.
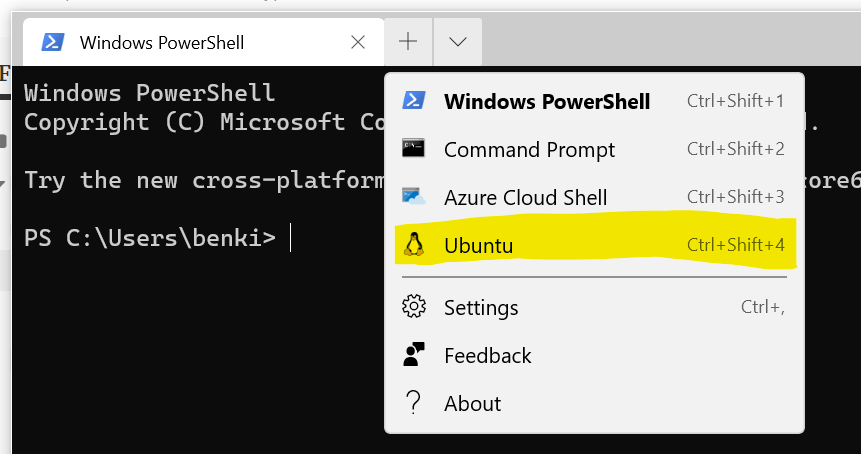
Connect to your WSL instance by opening a new tab for ubuntu.
(optional) Make your bash prompt better.
- run
code ~/.bashrcto open up your bash profile. - add
export PS1="\u@\W $ "at the end of the file, save, then restart the terminal.
- run
EVERYONE STEPS
# Install and Configure Git
Signup for Github
From ubuntu, run
sudo apt install git&git --versionto verify the installation.Cache your remote login credentials to avoid typing your username/password on every remote push:
git config --global user.name "Ben Kizaric"
git config --global user.email ""
git config --global credential.helper cache --timeout=3600
# Install and Configure node and npm
You need this to generate the showcase website.
Navigate to your user directory with
cd ~update / install needed software.
sudo apt-get update -yUpdate existing softwareapt-get install build-essential libssl-dev -yInstall essential software, like a c++ compiler.
install node version manager, nvm. You may have to restart your shell.
curl -o- https://raw.githubusercontent.com/nvm-sh/nvm/v0.35.3/install.sh | bashInstall node and npm with
nvm install node
# Install Python (Ubuntu / WSL)
- Run these commands to get needed software
sudo apt update
sudo apt install software-properties-common
sudo add-apt-repository ppa:deadsnakes/ppa
# This will prompt you to press enter
sudo apt update
- Install python 3.8 with
sudo apt install python3.8
← Report